Makeup Tips for Photoshoots: Best Makeup for Professional Photoshoots
- KaizenDMG

- Mar 31
- 4 min read
When it comes to professional photoshoots, makeup plays a crucial role in how you look on camera. I’ve learned that the right makeup can enhance your natural beauty, boost your confidence, and make your photos truly shine. Whether you’re preparing for a family portrait, a business headshot, or a creative shoot, knowing how to apply makeup that works well under studio lights and in front of the lens is essential. Let me share some warm, practical advice to help you feel your best and look flawless in every shot.
Essential Makeup Tips for Photoshoots
First things first, preparation is key. Your skin should be clean, moisturized, and primed before any makeup goes on. This creates a smooth canvas and helps your makeup last longer. I always recommend using a primer that suits your skin type - mattifying for oily skin, hydrating for dry skin.
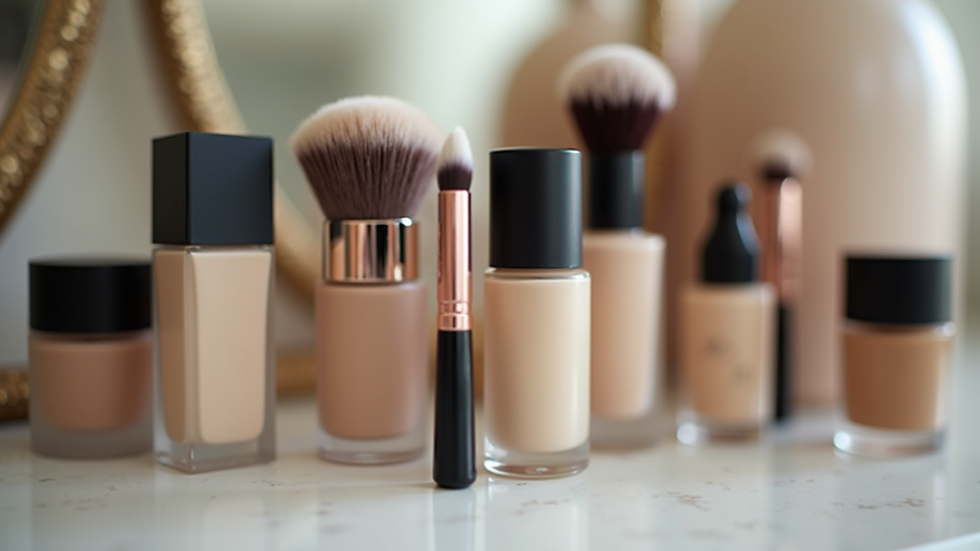
When choosing foundation, opt for one with a natural finish that matches your skin tone perfectly. Avoid foundations with SPF because they can cause a white cast in photos. Instead, focus on even coverage that hides imperfections without looking cakey. Blend well, especially around the jawline and hairline, to avoid harsh lines.
For concealer, pick a shade slightly lighter than your foundation to brighten under the eyes and cover any blemishes. Set your base with a translucent powder to reduce shine but don’t overdo it - too much powder can make your skin look dry and unnatural.
Here are some quick tips to keep in mind:
Use waterproof mascara and eyeliner to prevent smudging.
Choose matte eyeshadows instead of shimmery ones to avoid unwanted reflections.
Define your brows with a pencil or powder for a polished look.
Apply blush and bronzer to add dimension and warmth to your face.
What Makeup Looks Best in Pictures?
Have you ever wondered why some makeup looks stunning in person but falls flat in photos? The camera picks up details differently than the naked eye. For photos, makeup needs to be a bit more defined and balanced to avoid looking washed out.
Bold but natural is the sweet spot. For example, contouring helps sculpt your face and adds depth, which the camera loves. Use a contour powder or cream a few shades darker than your skin tone to subtly shape your cheekbones, jawline, and nose.
Highlighting is equally important. A soft, luminous highlighter on the high points of your face - cheekbones, brow bones, and the bridge of your nose - catches the light beautifully without being overpowering.
When it comes to eyes, a well-blended eyeshadow palette with neutral tones works wonders. Add a touch of eyeliner close to the lash line to make your eyes pop. Don’t forget to curl your lashes before applying mascara for an open-eyed effect.
Lip color should complement your overall look. Matte or satin finishes photograph better than glossy ones, which can reflect light awkwardly. Choose shades that enhance your natural lip color or add a subtle pop without being too bright.
Remember, the goal is to enhance your features, not mask them. Photos capture your essence best when your makeup feels like a natural extension of you.

Choosing the Right Colors and Products
Color selection can make or break your photoshoot makeup. I always suggest sticking to colors that flatter your skin tone and outfit. Warm undertones look great with earthy shades like bronze, peach, and warm browns. Cooler undertones shine with mauves, plums, and soft pinks.
Avoid overly bright or neon colors as they can distract and sometimes cause color casts on your skin in photos. Instead, opt for muted, rich tones that add depth and sophistication.
When selecting products, quality matters. Invest in long-lasting, photo-friendly makeup that won’t fade or crease under studio lights. Products labeled as “HD” or “photo-ready” are designed to perform well on camera.
Also, consider your skin type. If you have oily skin, mattifying products and setting sprays are your best friends. For dry skin, hydrating formulas and cream-based products help maintain a fresh, dewy look.
Tips for Different Types of Photoshoots
Different photoshoots call for different makeup approaches. Here’s a quick guide to help you tailor your look:
Business Headshots: Keep it professional and polished. Neutral tones, well-defined brows, and a natural lip color work best. Avoid heavy contouring or dramatic eyes.
Family Portraits: Aim for a soft, natural look that complements everyone. Use warm blush and subtle eye makeup to create a harmonious feel.
Creative or Fashion Shoots: Feel free to experiment with bolder colors and artistic touches. Just make sure the makeup enhances the theme and doesn’t overpower your features.
Outdoor Shoots: Use sunscreen-free products and waterproof makeup to withstand weather conditions. Matte finishes help control shine in natural light.
No matter the type of shoot, always do a trial run if possible. This helps you see how the makeup looks on camera and make adjustments before the big day.
Final Thoughts on Looking Your Best in Photos
Getting ready for a professional photoshoot can feel a bit overwhelming, but with the right makeup tips, you can walk into the studio feeling confident and radiant. Remember, the best makeup for professional photos is one that enhances your natural beauty and suits the lighting and style of the shoot.
If you want to explore more about the best makeup for professional photos, I encourage you to check out expert advice and personalized services that can make your experience seamless and enjoyable.
Your photos are a lasting memory, so investing time in your makeup preparation is truly worth it. With these tips, you’ll be ready to capture your authentic self beautifully.


Comments